ULTIMATE 1MB FLASHED WITH FIRMWARE byj FJC ;
commision is paid to FJC from every unit sold and warranty kept
VISIT FJC`s PAGE to read about diffrences :
http://atari8.co.uk/firmware/ultimate-1mb/
Ultimate is one of the best ATARI 8bit internal upgrades ever, invented by my great friend, Sebastian Bartkowicz aka Candle`o`Sin - http://spiflash.org/ . Instalation of this upgrade takes me approx. 5 minuts and even rookie can handle it at home - without finding a professional technician and extra costs!
It's easy, it's simple, it's FUN! Also, in the present version some fixes were applied in comparison to the initial release. Now it's 100% "safe and sound". Of course, what would be a bundle of wires without software support ?
Dear all, it is about time to visit AtariAge / AtariArea forums, isn't it? :-)
Features
- As solderless as possible (only RW, PHI2, HALT and RESET lines need soldering when MMU and OS rom are socketed)
- fully flashable SpartaDOS-X with up to 320kbytes for its purposes
- Real Time Clock module for SDX with battery backup and NVRAM
- fully flashable 4 OS ROM slots
- hardware WRITE PROTECT for the whole Flash array
- configurable memory expansion with 4 modes of operation (disabled, 320k RAMBO, 578k COMPY SHOP, 1088k RAMBO)
- customizable BASIC and MISSLE COMMAND slots (also flashable)
- compatible with all XL/XE machines (600XL needs 64kB of RAM first)
Inside BOX :
- high quality Ultimate BOARD
- HARTING MMU ADAPTER 20 IDC Female cable
- HARTING OS ROM ADAPTER 28 IDC FEMALE ADAPTER
- 4pin connection cable
- fitting items
INSTALLATION STEP BY STEP:
Disclaimer:
- If you are not familiar with soldering or you do not have proper tools, please LET a pro technician do it for you or send me your ATARI BOARD for installation. Upgrade installation cost is 15€ only. Contact me to arrange installation.
- Please remeber - wrong tools usage or low skills may damage atari and ultimate; any damage/harm to your hardware is NOT subject of any kind of warranty.
- Installation is easy, but unexperienced hands can do a lot of damage. Please, do not ask me questions WHAT HAVE I DONE WRONG WITH INSTALLATION - answer will be always the same - I DO NOT KNOW
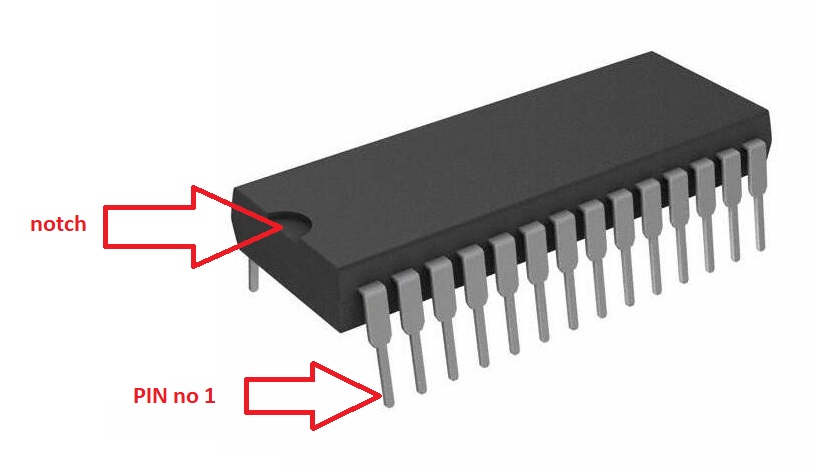
- locate MMU (20 pins) and OS ROM (28 pins) and their pins no1
General rule of pin identification - click for larger picture
- If Your chips are in sockets:
- Remove MMU (20 pins) and OS ROM (28 pins) chips from their sockets
- Insert flat cable with "chip-adapter" side into MMU and OS ROM sockets ( RED STRIPE cable indicates PIN 1 of removed chip)
- Make proper 4wire connection of ULTIMATE with CPU - CLICK
- Connect flat cables with "IDC-side" to ultimate board ( RED STRIPE cable indicates PIN 1 ultimate connector)
- Fix ULTIMATE PCB inside Atari
- If Your chips are not in sockets:
- desolder MMU (20 pins) and OS ROM (28 pins) from atari pcb
- Solder sokcets into atari pcb (sockets are not supplied by me)
- Insert flat cable with "chip-adapter" side into MMU and OS ROM sockets ( RED STRIPE cable indicates PIN 1 of removed chip)
- Make a proper connection with supplied 4wire cable between ULTIMATE and CPU - CLICK
- Connect flat cables with "IDC-side" to ultimate board ( RED STRIPE cable indicates PIN 1 ultimate connector)
- Fix ULTIMATE PCB inside Atari
READY! You can power on Atari, enter setup (HELP + RESET) and adjust all you want!

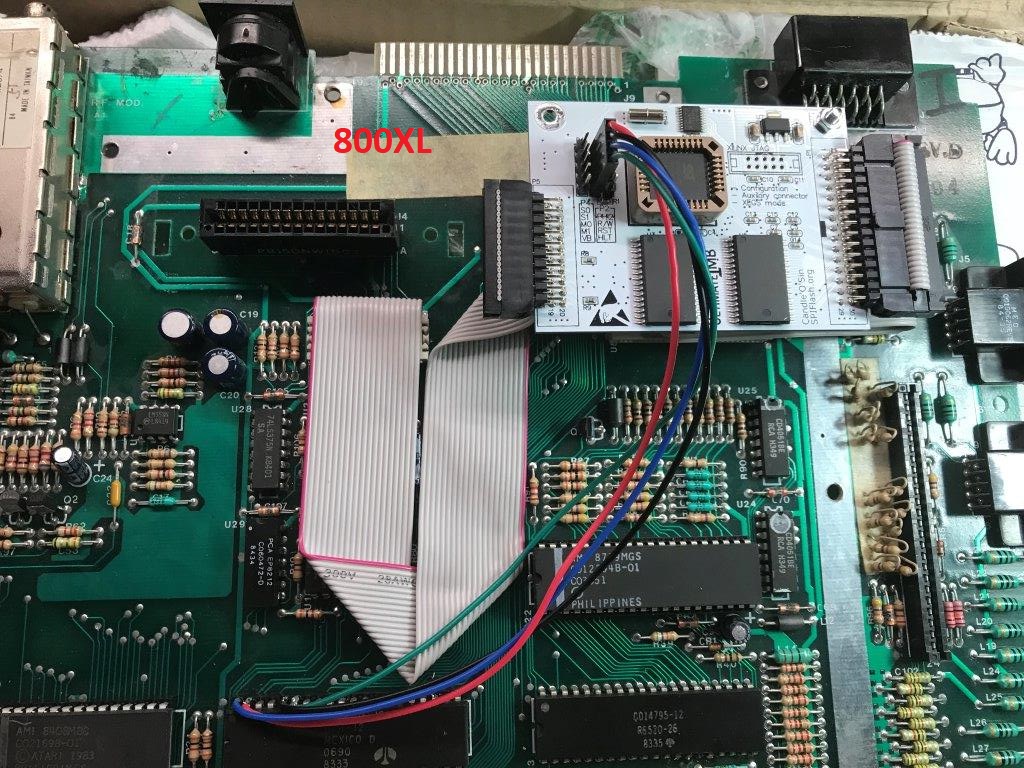

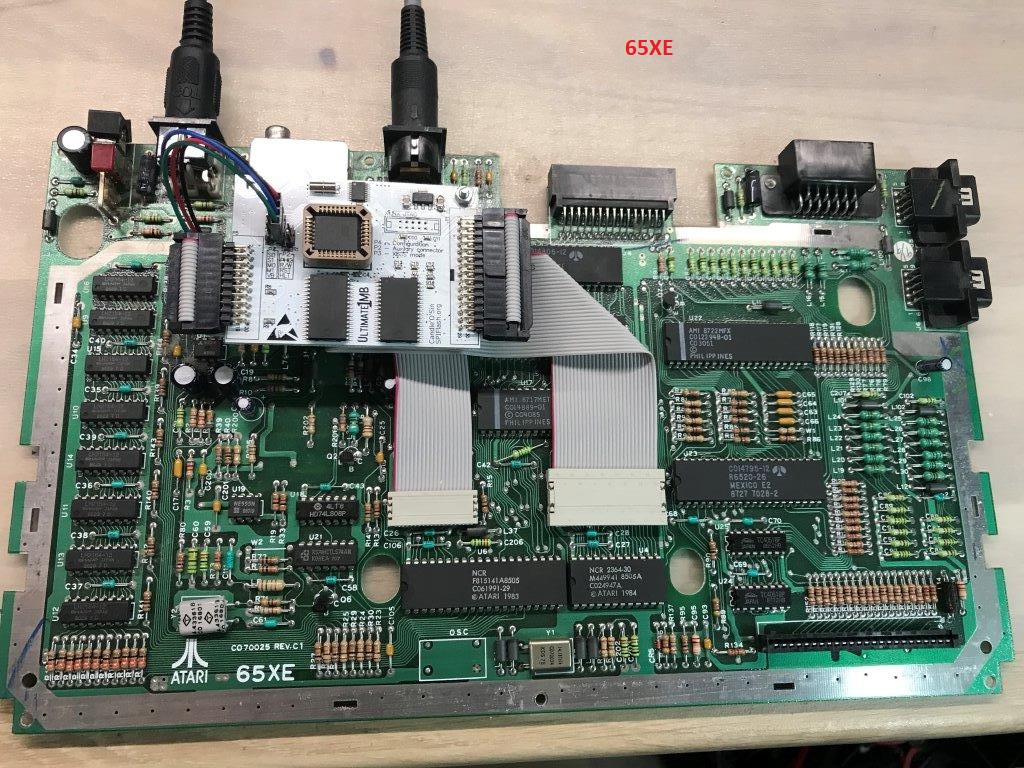
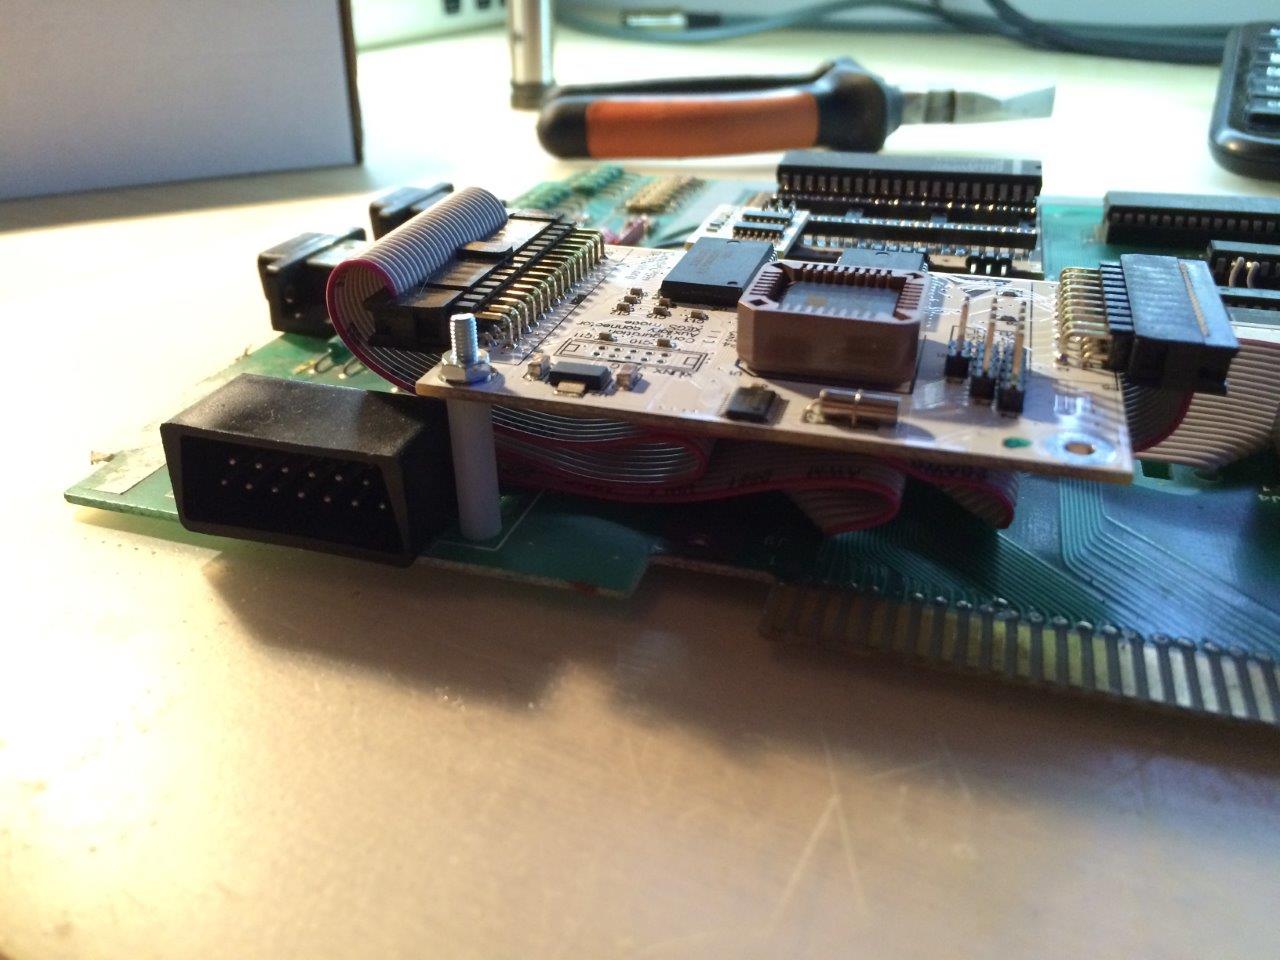
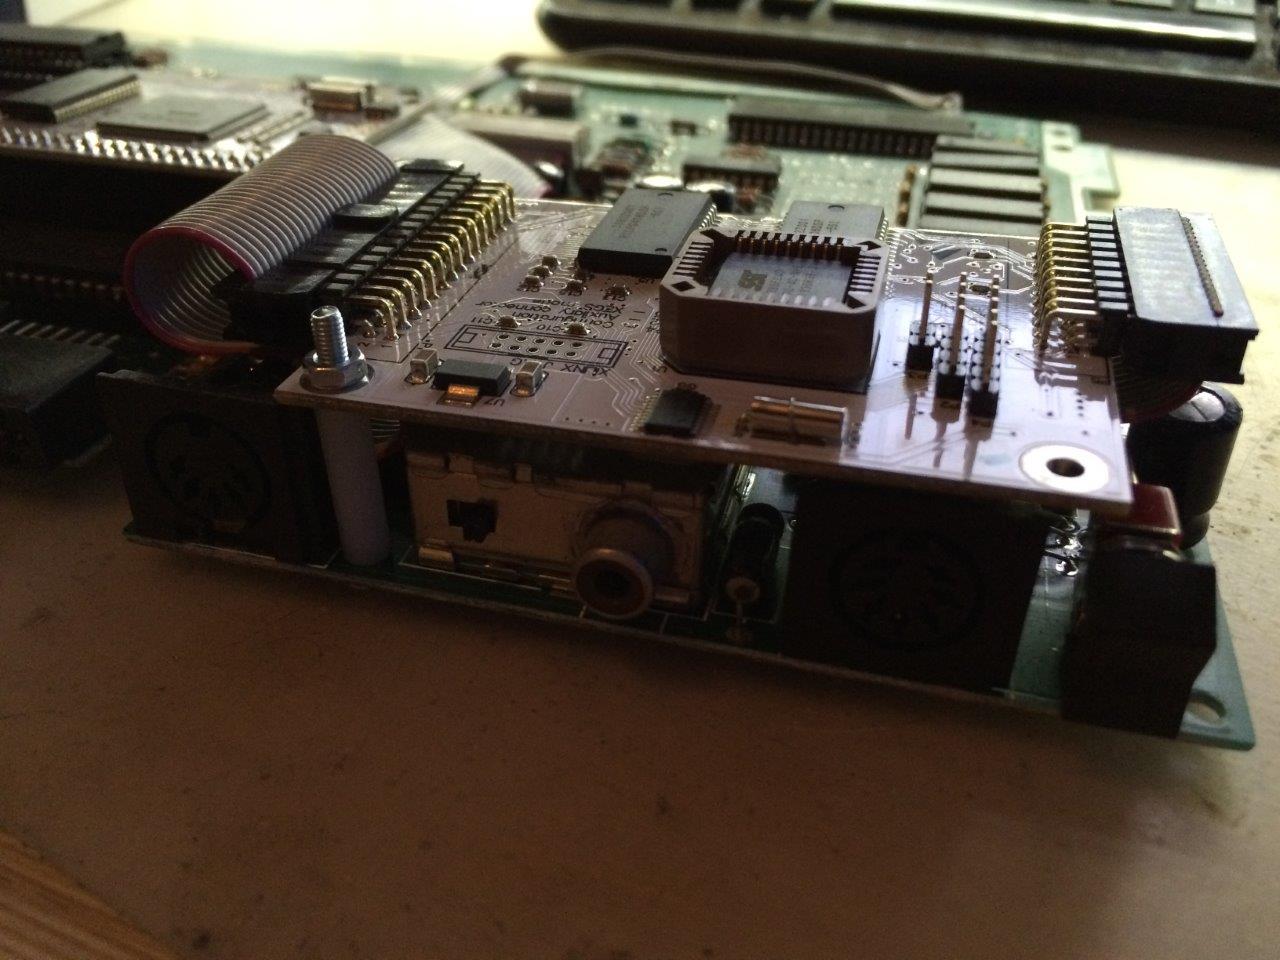
Ultimate + SIDE 2 - partitioning / formatting compact flash
DISCLAIMER:
all ultimates are sold with straight headers
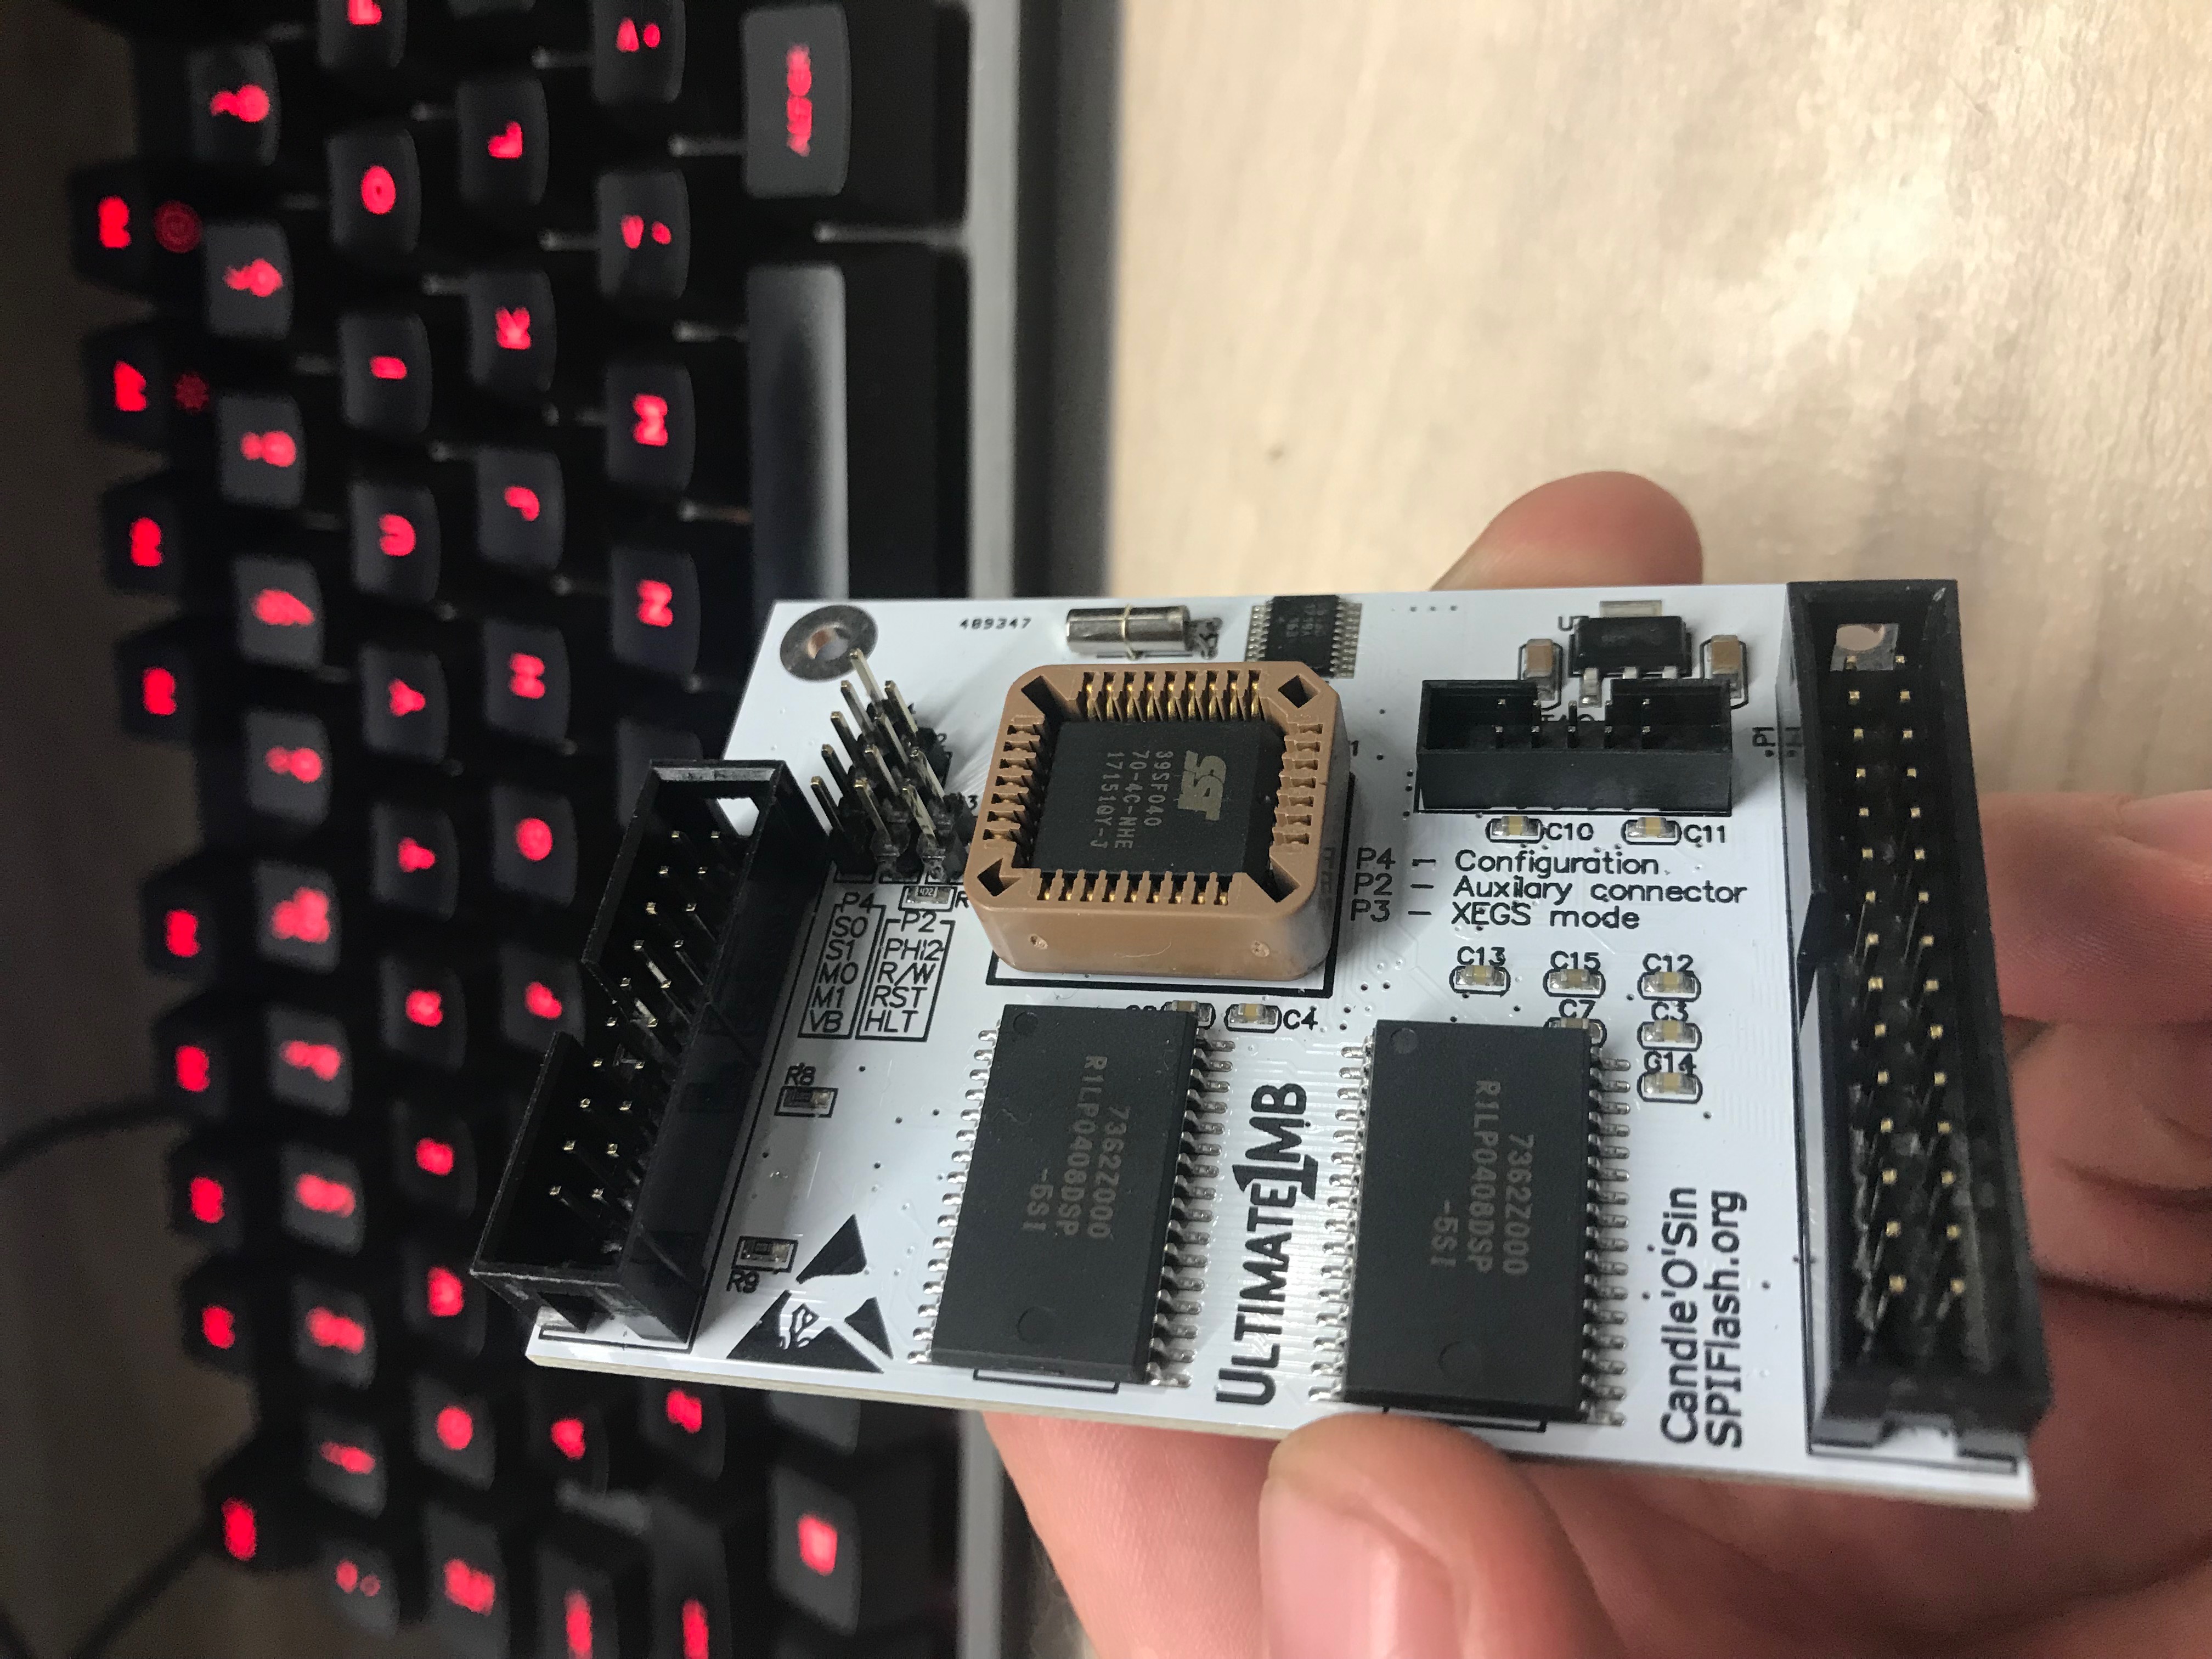
Product gallery

